
Maintenance & Parts•2026-11-01•Tasneem Editorial Desk
Knitting Machine Needle Breakage: Root Cause Analysis for Bangladesh Mills
Needle breakage is rarely just a needle problem. This guide works through the five root-cause families — tension, worn needles, cam and cylinder faults, feeder settings, and speed — with a fault-isolation sequence Bangladesh mills can use on the floor.
Knitting Machine Needle Breakage: Root Cause Analysis for Bangladesh Mills
Direct answer: Needle breakage on a circular knitting machine is rarely a needle problem alone. It is usually the visible result of excessive yarn tension, worn or misaligned cams, incorrect feeder settings, fatigued needles, or lint-clogged cylinder grooves. A systematic root cause analysis — checking the broken needle, the feeder, the cam track, and the yarn path in that order — finds the true cause and stops repeat breakage.What needle breakage looks like on fabric
A broken needle leaves a clear signature: a vertical line, often called laddering, running parallel to the wales, because no loop is formed in that wale. Textile Learner's guide to common knitted fabric defects lists exactly this symptom for broken needles, and it is the first thing a quality checker should look for when a roll shows a continuous vertical fault. If the line starts mid-roll, the needle broke during that roll; if it runs the full roll, the needle was already broken at doffing or the fault was missed at the previous inspection. Recording where the line starts, and which feeder and cylinder position it maps to, turns a vague complaint into a diagnosable event.The five root-cause families
Needle breakage has five usual families of causes, and effective knitting machine needle breakage root cause analysis works through them in order instead of simply replacing the needle and restarting.1. Excessive or uneven yarn tension
High yarn tension is the single most-cited cause in standard fault guides. When tension on one feeder is far above the others, the needles on that feeder carry extra load at every knock-over, and the weakest point — a hook, a latch, or a butt — eventually gives way. Causes of high tension include wrong tensioner settings, a dragging yarn package, a rough or grooved yarn guide, and a feeder set too far from the needle circle. Check tension on every feeder with a tension meter, not by hand feel, and compare feeders against each other: a single outlier feeder is a strong lead.2. Worn, damaged, or wrong needles
Needles fatigue. A needle set that has run for many months develops worn hooks, bent latches, and weakened butts, and old or worn-out needle sets are named directly as a broken-needle cause in standard defect references. Hardness is a trade-off documented by needle manufacturers: a needle that is too hard becomes brittle and snaps at the hook or latch, while one that is too soft wears and swells at the hook and fails early. Mixed needle batches, wrong needle gauge for the cylinder, or a needle type unsuited to the yarn can produce the same result. Inspect removed needles under magnification and keep a sample of every break: hook breaks, butt breaks, and latch breaks point to different causes.3. Cam, sinker, and cylinder problems
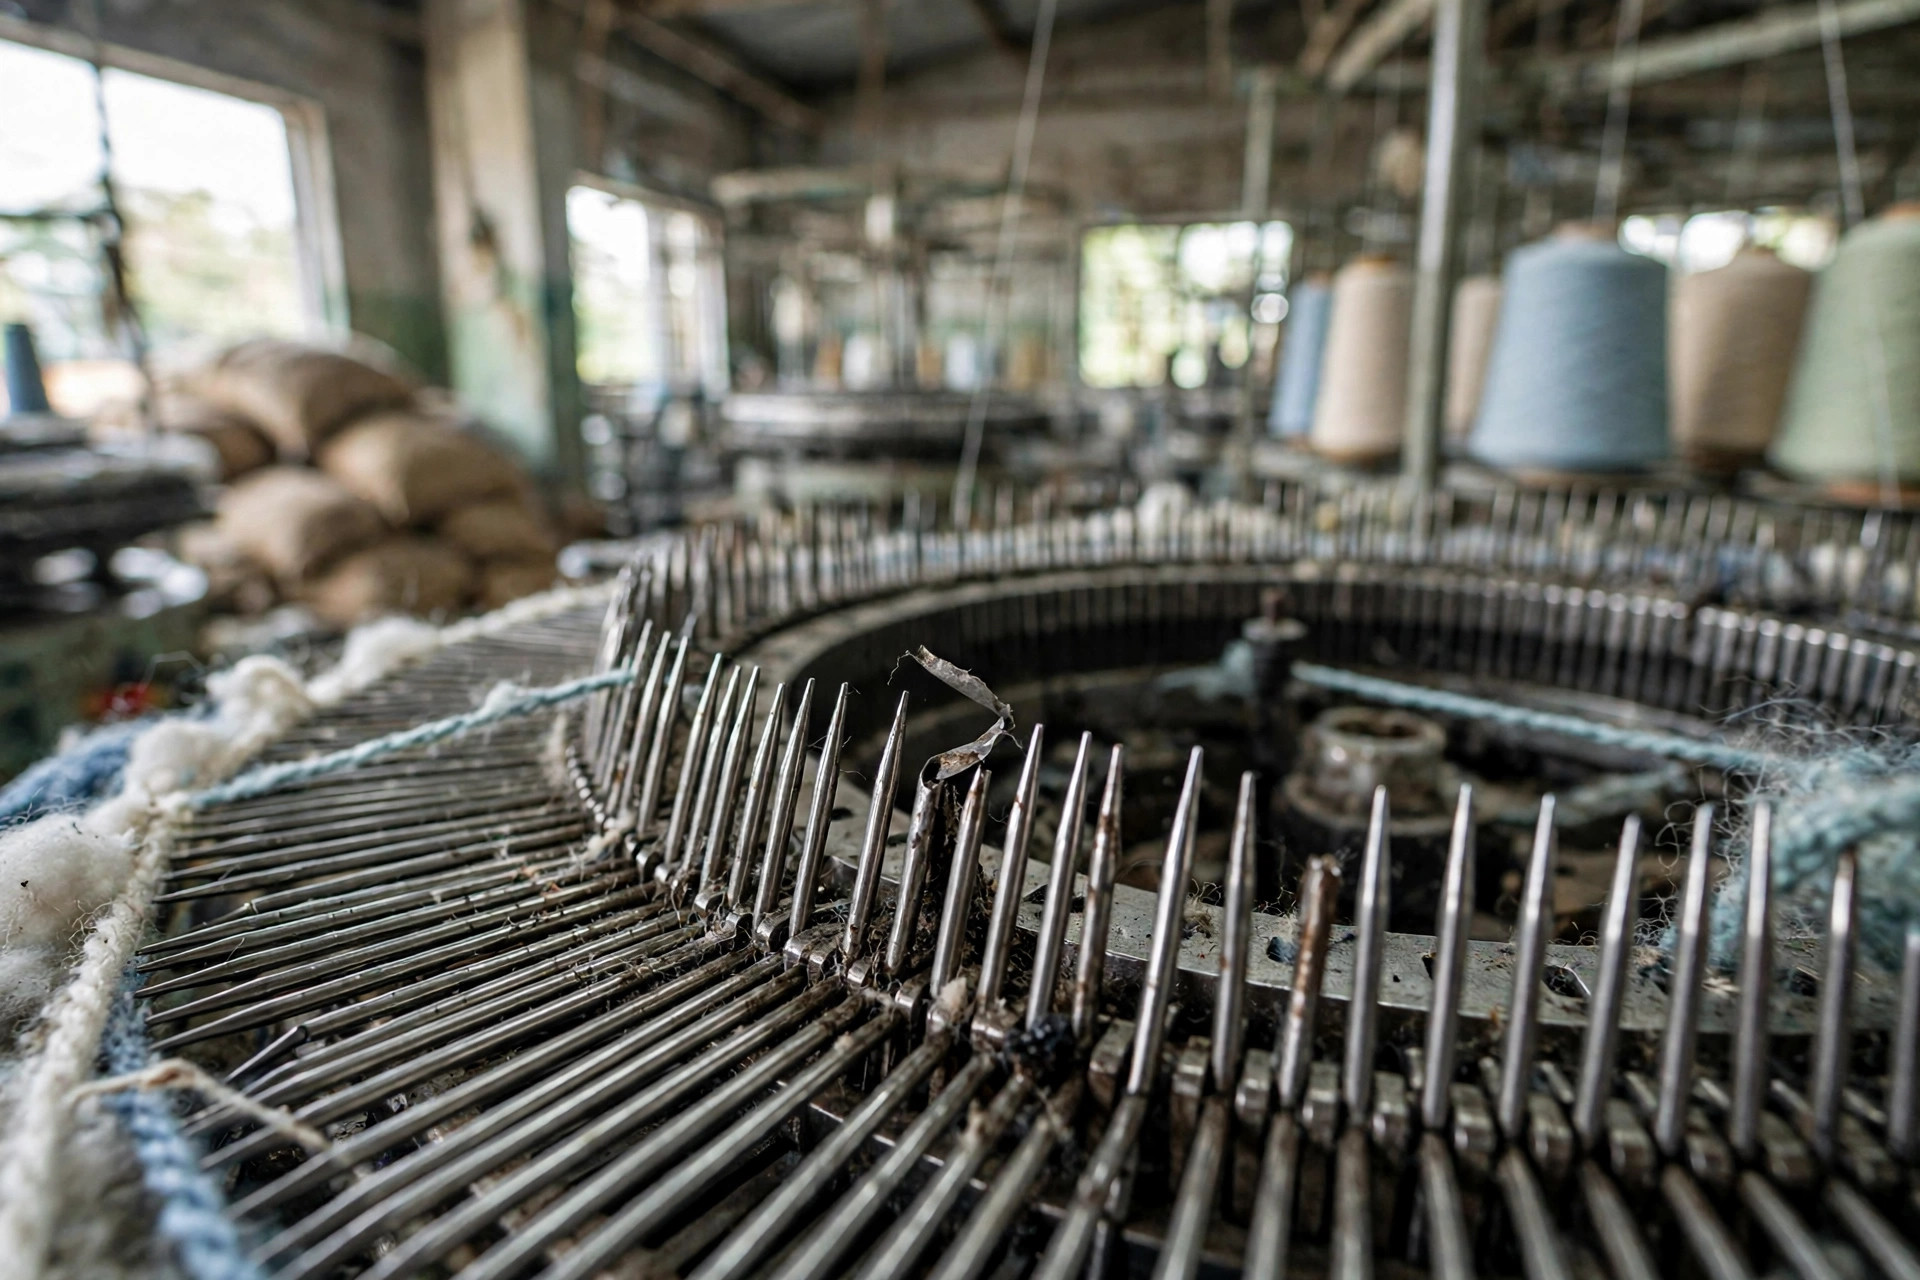
The cam track drives every needle movement, so a worn cam track, a chipped cam, or incorrect cam timing can hammer needle butts until they break. Tight cylinder grooves that restrict needle movement have the same effect, as does lint and fly packed into the tricks, which stops needles sliding freely. This is why a preventive maintenance schedule matters: regular groove cleaning, cam-track inspection, and timing checks catch these faults before they cost needles. If breaks cluster at one cam position or one section of the cylinder, the cam or the cylinder — not the yarn — is the suspect.4. Feeder setting and yarn path faults
A badly set yarn feeder is another classic cause. If the feeder sits too close to the needles, it strikes latches; too far away, and the yarn enters the hook at a bad angle and drags across the latch. Feeder height, angle, and distance from the needle circle all need checking after any changeover, and a feeder that has worked loose mid-run can start breaking needles hours after a good start. Also check the full yarn path — guides, eyelets, and tension discs — for grooves, burrs, and fly build-up that raise tension feeder by feeder. Our cam system selection guide explains how cam arrangement and feeder position interact on single jersey, rib, and interlock machines.5. Machine speed, take-down, and operating practice
Running faster than the yarn and needle set can support raises dynamic load at every stitch, and excessive take-down tension pulls the fabric — and therefore the needles — harder than the process intends. A 2008 study of circular knitting process stability published in Mechanika (Kaunas University of Technology) showed that yarn tension falls sharply when a needle hook or butt breaks, which is why modern machines pair needle-break detectors with fast stop motions: every extra revolution after a break risks more damage. If breakage rises only at higher speeds, speed itself is part of the cause, and the honest fix is a speed the current yarn and needle condition can sustain.A fault-isolation sequence that works
Follow the same sequence every time, and change one variable at a time:Prevention: the routine that keeps needles alive
A short, repeatable routine prevents most repeat breakage: measure feeder tension at every shift start, clean cylinder and sinker grooves on schedule, inspect cam tracks during planned stops, replace needle sets on age and condition rather than waiting for failures, and log every break with feeder, position, and break type. Over weeks, the log reveals patterns — one feeder, one cam, one yarn supplier — that no single incident can show. Mills that treat needle breakage as data, not bad luck, cut both needle consumption and second-quality fabric, because the same faults that break needles also mark fabric.FAQs
Why does one needle keep breaking at the same feeder?
Because the cause is local to that feeder: its tension, its feeder setting, its yarn package, or the cam section it passes. Measure that feeder's tension against the others and inspect its feeder gap and yarn path before blaming the needle batch.Does faster machine speed cause needle breakage?
It can. Higher speed raises dynamic load on hooks, latches, and butts, and it magnifies the effect of any existing tension or timing fault. If breakage appears only above a certain speed, reduce speed and fix the underlying fault before running fast again.Should I replace the whole needle set when breakage starts?
Not immediately. Replace the broken needle, run the fault-isolation sequence, and check whether breaks are scattered or localised. Scattered breaks across feeders point to set age or a mixed batch; localised breaks point to one feeder, cam, or yarn path that can be fixed.Can lint in the cylinder grooves really break needles?
Yes. Fly and lint packed into the tricks restrict needle movement, so needles stick, drag, and take uneven load from the cam. Regular groove cleaning is one of the cheapest forms of needle-breakage prevention, and it is part of any sound preventive maintenance routine.Related Topics
needle breakagecircular knittingroot cause analysisknitting machine maintenanceনিডল ভাঙাসার্কুলার নিটিং
Need Technical Sourcing Assistance?
Request Machine QuoteConfigure Your Mill's Circular Knitting Line
Factory-direct pricing, CFR Chattogram delivery, pre-shipment quality audit, and local commissioning in Bangladesh.