
Maintenance & Parts•2026-11-02•Tasneem Editorial Desk
Sinker Ring Maintenance and Timing Adjustment for Circular Knitting Machines
Worn sinkers and drifted timing cause lines, holes and needle breakage. This guide covers the daily, weekly and monthly sinker ring routine, dial-gauge timing adjustment, and when to replace instead of adjust.
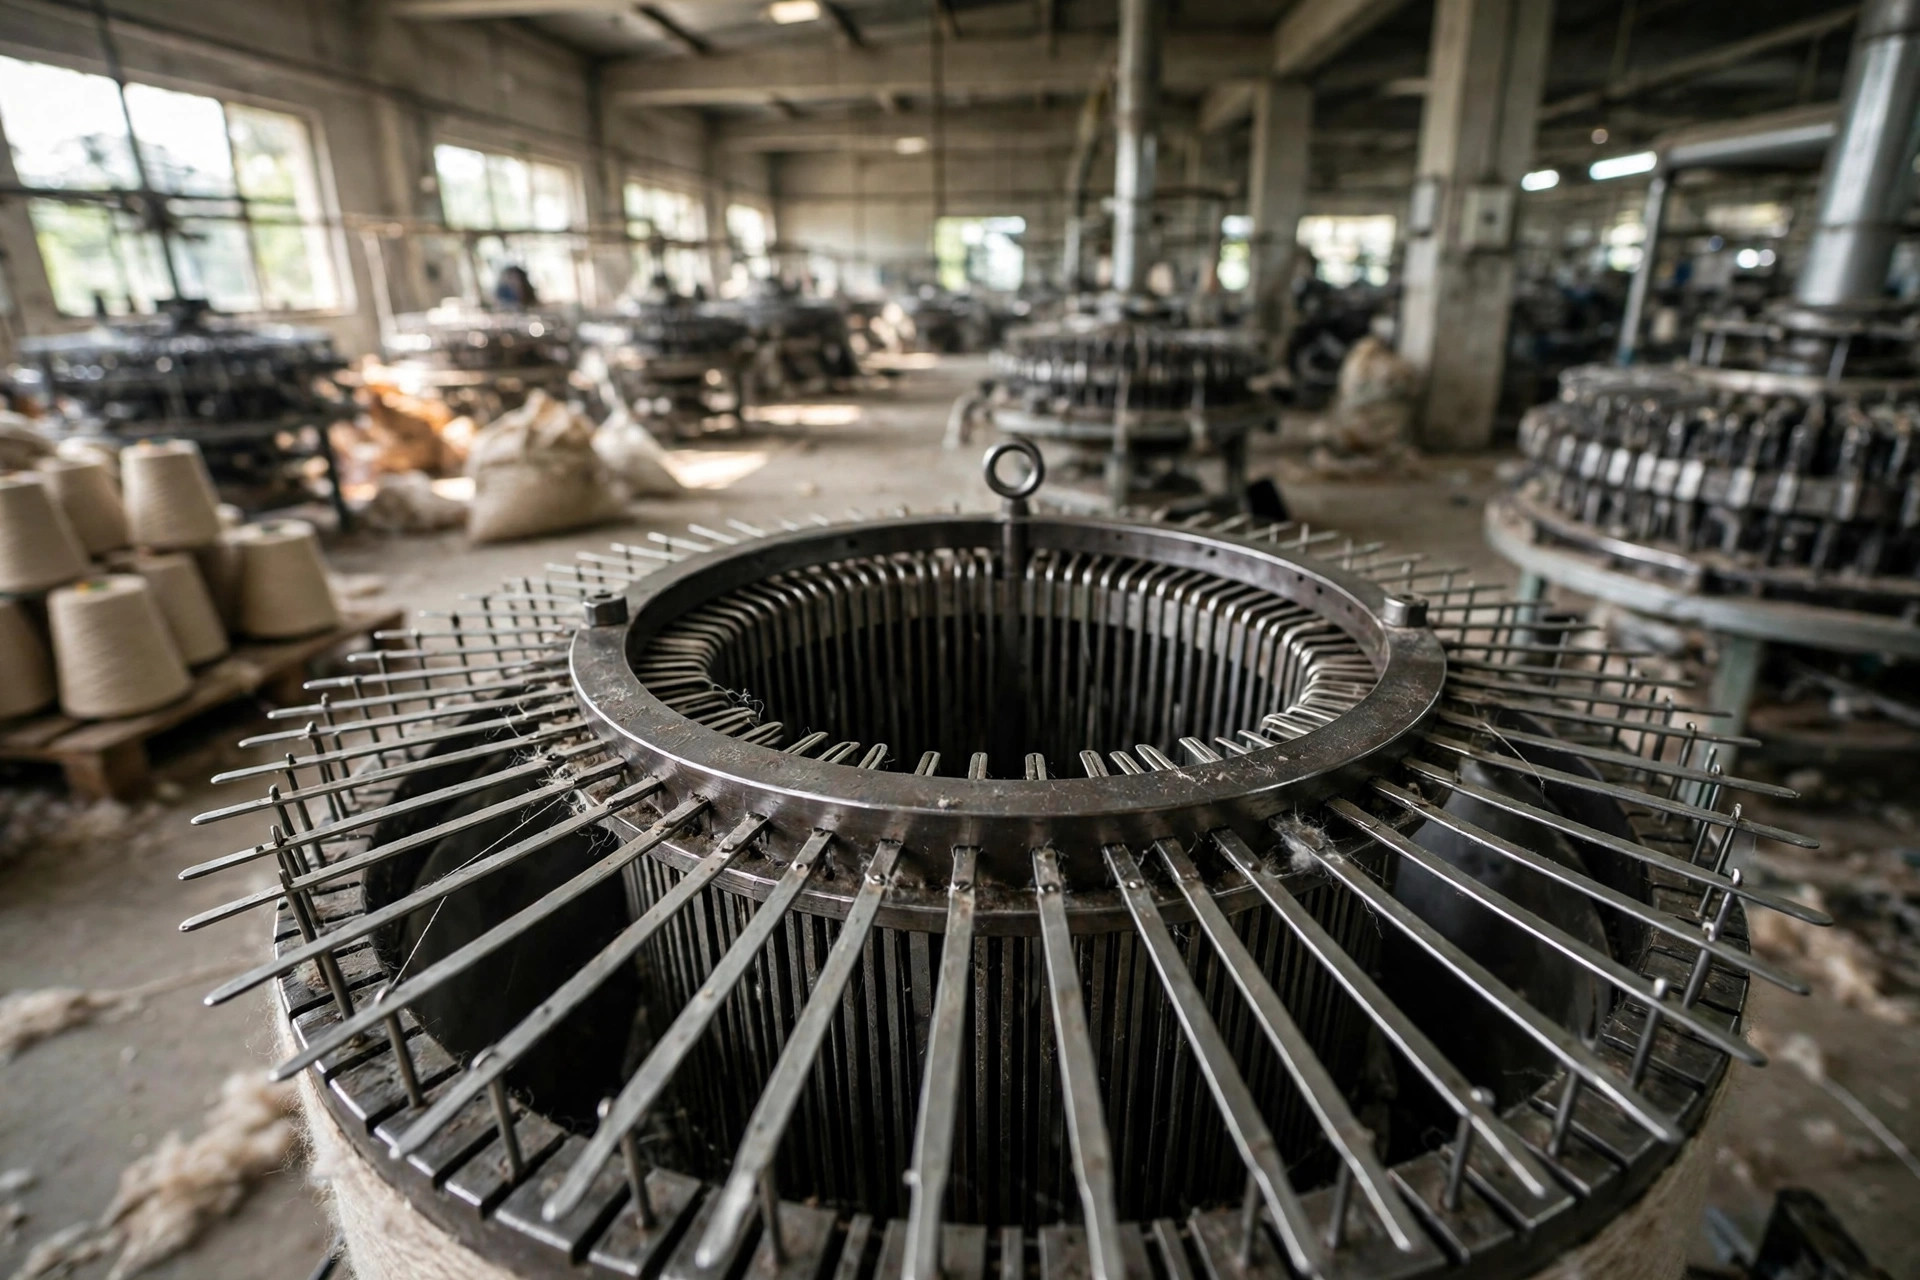
Direct answer: Sinker ring maintenance means keeping every sinker moving freely in its ring groove, at the correct radial position and knock-over depth, so the old loop is held firmly while the needle draws the new loop. When timing drifts, loops vary, fabric shows lines or holes, and needles break. A short daily clean, a weekly timing check, and a recorded full inspection each month keep the ring in specification.Vertical lines or streaks that run along the fabric length, often traceable to one worn, bent, or sticking sinker.
Uneven loop size or barré-like bands when knock-over depth varies between feed systems.
Holes or dropped stitches where a sinker failed to hold the old loop during clearing.
Rising needle breakage, especially needle-sinker collisions: worn sinkers allow lateral needle movement, and a sinker groove that is too tight or too deep can trap the needle instead of guiding it.
A change in the sound of the machine — a light, regular ticking from the sinker ring area often means a sinker is catching in its groove. When any of these appear, stop and inspect before raising speed or changing yarn. Raising speed on a worn sinker ring only turns a line into a hole and a hole into a needle break.Stop, isolate, and lock out the machine. Never adjust the sinker ring on a running machine or reach into the knitting zone while it turns.
Clean the ring and grooves thoroughly before measuring. Lint under a sinker changes its resting position and falsifies every reading that follows.
Set the radial position. Loosen the ring fixing screws, bring the sinker throat to the manual's reference position (often checked with a dial gauge fixed at a marked zero), and re-tighten in sequence. Machine manuals commonly specify the gap between the needle cylinder and the upper sinker cam plate in the range of 0.2–0.30 mm; use your model's figure, not a borrowed one.
Set knock-over depth at each feed. Adjust the sinker cam so the knock-over depth is identical across all feed systems, then hand-turn and confirm the yarn is drawn over cleanly without the sinker throat cutting or dragging it.
Check needle-sinker clearance. The needle must pass its sinker without touching; knitting references note that the gap between adjacent cam sections should not exceed the thickness of a single needle (roughly 0.10–0.20 mm) or a needle can catch between them. Any contact mark on a sinker face means the timing, not the needle, is wrong.
Run a trial course at slow speed, inspect the first metres for lines or holes, and only then return to production speed. Record the final settings. If adjustment does not restore even loops, the ring itself may be worn: grooves that are bell-mouthed or scored will not hold a setting, and no amount of cam adjustment compensates for them. At that point, replace the ring or the worn sinker set as a matched batch, and re-time from scratch.
What the sinker ring actually does
On a circular knitting machine, the sinker is the small, flat steel element that holds the old loop down while the needle rises to clear it and then draws the new yarn through. The sinkers sit in radial grooves around the sinker ring (also called the sinker dial or sinker cam ring), and a sinker cam drives each sinker forward and back in step with the needle cylinder. If the sinker arrives late, too early, too shallow, or too deep, the loop it controls changes size — and because every course repeats the same error, the fault appears as a regular line, a band, or a row of holes across the fabric.Three settings decide whether the ring is doing its job: the radial position of the sinker ring relative to the needle cylinder, the knock-over depth (how far the sinker throat pushes the yarn over the knock-over edge), and the condition of the sinker grooves themselves. Wear, lint packing, and a loose ring all move these settings, slowly at first and then suddenly, which is why a written inspection routine matters more than occasional firefighting.Signs that sinker timing has drifted
Watch the fabric first, then the machine. Sinker-related faults usually show a repeating pattern around the circumference, because the same sinker or the same cam section repeats its error every revolution:The maintenance routine: daily, weekly, monthly
Daily (operator, at shift start and after every yarn-lot change): blow out lint from the sinker ring with dry compressed air, check that no sinker is visibly stuck or standing proud of its neighbours, and confirm the oil mist or drip feed to the sinker ring is working. Lint is the fastest cause of sticking sinkers in Bangladesh knitting halls, and it packs hardest into the ring grooves. A clean ring is also easier to read: a sticking sinker shows up immediately on a clean ring.Weekly (technician, machine stopped and locked out): hand-turn the machine and watch the sinkers move through one full revolution at each feed. Each sinker should slide smoothly without catching, and the ring should show no radial play when pushed by hand. Check the sinker cam screws and the ring fixing bolts for looseness, and record any sinker replaced. One changed sinker at a time is the rule — changing a whole set without recording which positions changed destroys the fault trail.Monthly (recorded inspection): measure, don't guess. Check radial position with a dial gauge against the machine manual's reference mark, verify knock-over depth at every feed system, and gauge a sample of sinker grooves for wear or burrs. Compare the readings with last month's record; a trend of drift at one feed points to a cam or ring problem, while uniform drift points to a fixing or lubrication problem. Keep the record with the machine's preventive maintenance schedule so the next technician inherits the history, not just the machine.Timing adjustment, step by step
Always work from the machine maker's manual for the exact reference marks — the sequence below is the general practice used across single-jersey and double-jersey sinker machines, and the numbers must come from your model's manual:Replace or adjust? A practical rule
Adjust when the fault is a drifted setting on an otherwise sound ring: clean grooves, smooth sinker movement, and a fault that disappears after re-timing. Replace when the fault is in the metal: scored grooves, sinkers with uneven or burred faces, sinkers that stick after cleaning, or a ring with measurable radial play. Mixing a few new sinkers into a worn set is acceptable for a single broken element — see our needle and sinker replacement guide — but a ring that has lost its groove geometry needs a set change, because new sinkers in worn grooves wear out fast and unevenly.Sinker condition also interacts with everything upstream. A yarn with heavy lint or a feeder delivering uneven tension will load the sinkers harder and hide behind a sinker fault; if sinker faults keep returning after correct adjustment, check yarn tension troubleshooting before blaming the ring again.Hall conditions that protect the ring
Sinker rings wear faster in dry, lint-heavy air. Keep the knitting hall within the conditioning atmosphere described by ISO 139 for textile testing (20 ± 2 °C and 65 ± 4 % relative humidity) as a reference point for stable yarn behaviour, and keep lint extraction running during production, not just during cleaning stops. Good housekeeping is not cosmetic here: lint packed into a sinker groove is the direct cause of many sticking-sinker faults, and it is preventable with the daily routine above.FAQs
How often should sinker timing be checked?
Daily cleaning by the operator, a weekly hand-turned movement check by the technician, and a monthly measured inspection with a dial gauge. Mills running high-lint yarns or three shifts should move the measured check to fortnightly.What is the first sign of a sinker timing problem?
A repeating vertical line or band in the fabric, or a single course of holes that repeats every revolution. Both point to one sinker or one cam section, and both should be investigated before speed or yarn is changed.Can worn sinkers cause needle breakage?
Yes. Worn sinkers let needles move sideways, and a groove that is too tight or too deep can trap a needle so it collides with the cam or a neighbouring element. Rising needle breakage after a period of lines or holes is a classic sinker-ring symptom.Should all sinkers be replaced together?
Not always. Replace a single broken sinker on its own, but replace the full set when grooves are scored, faces are uneven, or timing will not hold after adjustment. Mixing new sinkers into a worn ring shortens the new sinkers' life.Does knock-over depth affect fabric GSM?
Yes. Knock-over depth is one of the loop-size controls, so uneven depth between feeds changes loop length and therefore GSM and fabric width. That is why depth must be matched across all feed systems after any adjustment.Related Topics
sinker ringsinker timingcircular knitting machineknock-over depthneedle breakageসিঙ্কার রিংনিটিং মেশিন রক্ষণাবেক্ষণ
Need Technical Sourcing Assistance?
Request Machine QuoteConfigure Your Mill's Circular Knitting Line
Factory-direct pricing, CFR Chattogram delivery, pre-shipment quality audit, and local commissioning in Bangladesh.